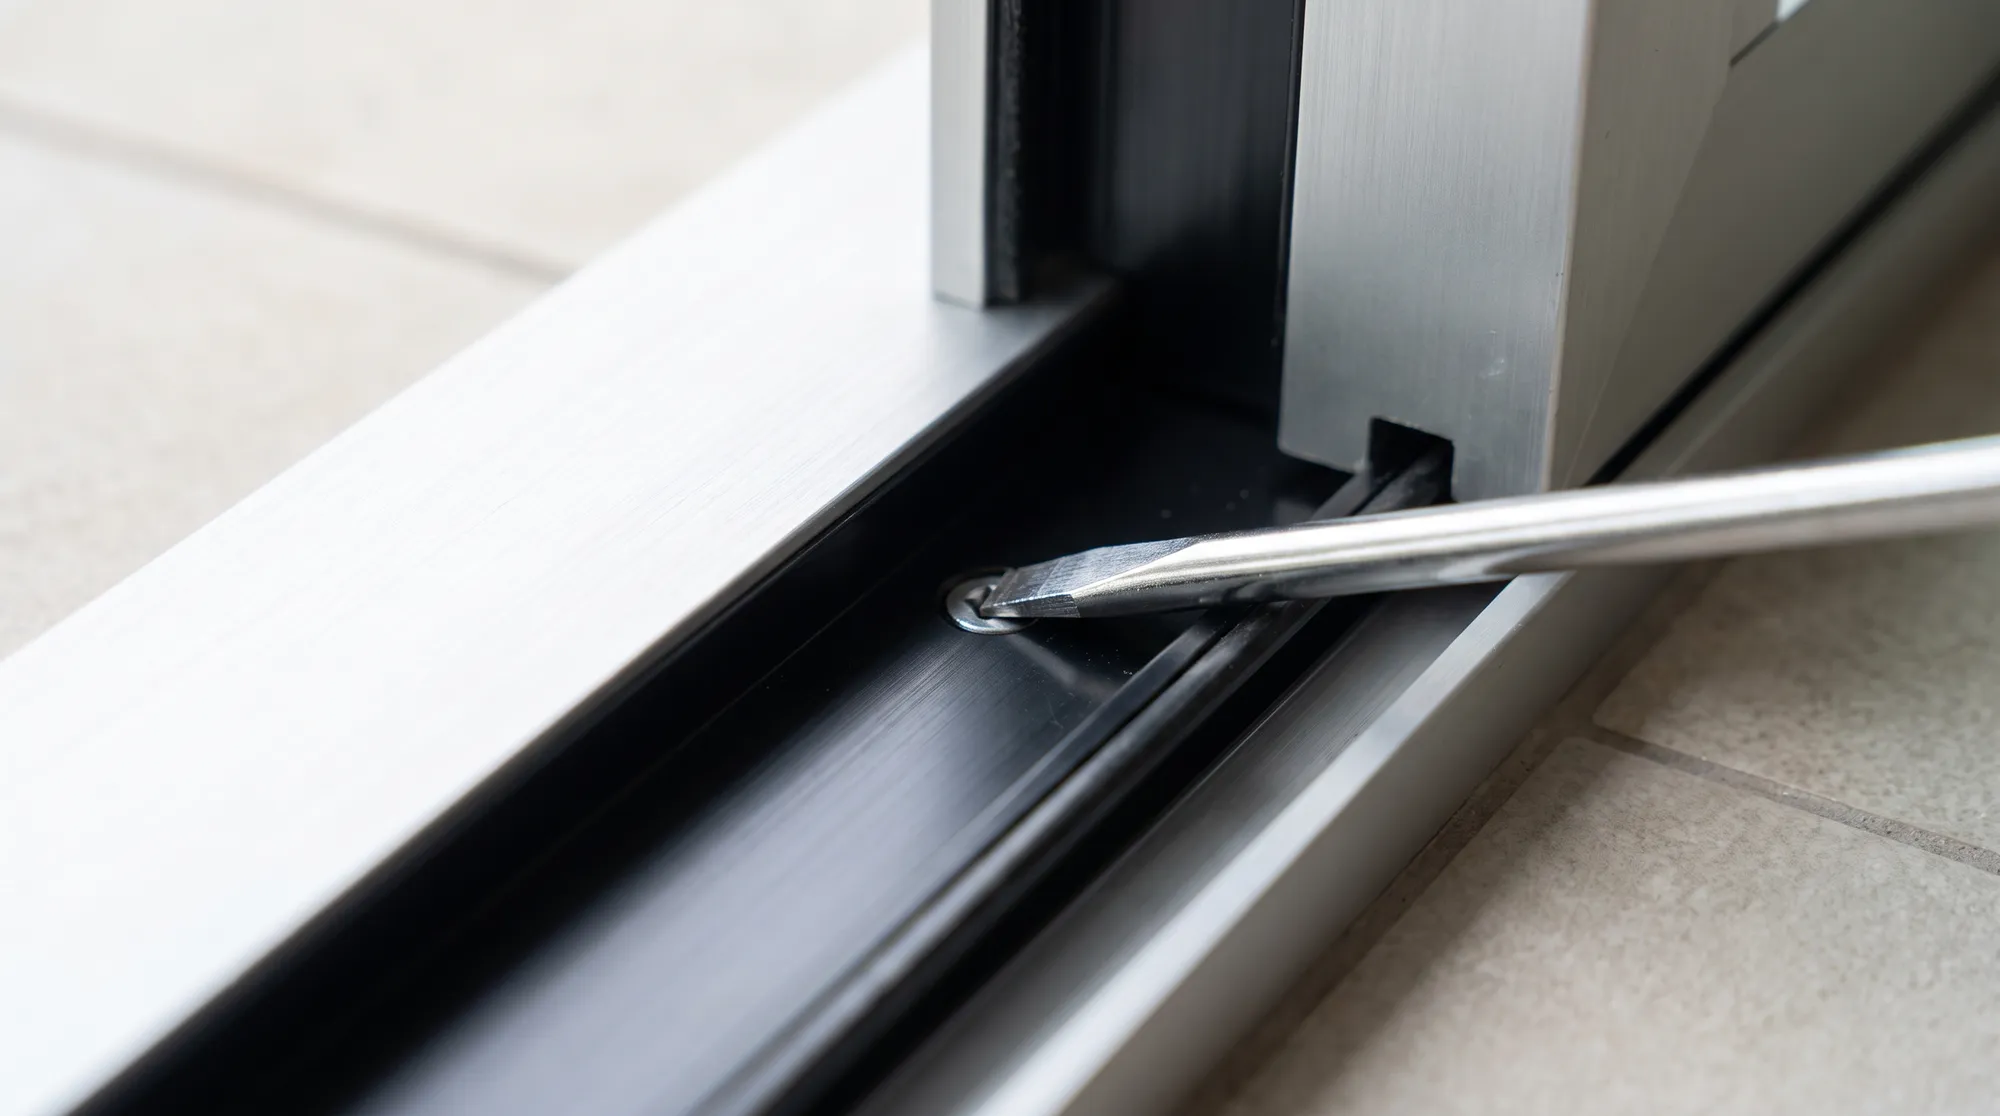
A patio door should glide open with two fingers. When it starts dragging, grinding or hopping out of its track, the culprit is almost always the rollers hidden under the panel — and in many cases, fifteen minutes with a screwdriver fixes it. Here is how to diagnose, adjust, clean or replace patio door rollers, and how to recognize when the door itself has reached the end of the line.
Why Sliding Doors Start to Stick
A sliding patio door carries its entire weight — often 45 to 90 kg for a glazed panel — on two small tandem rollers at the bottom. Every grain of sand, every de-icing salt crystal tracked in on boots, and every season of freeze-thaw movement works against those rollers. Quebec homes are particularly hard on them: winter grit accumulates in the track from November to April, and the -30 °C to +30 °C annual swing makes frames expand and contract several millimetres, changing how the panel sits on its wheels.
The good news is that sticking rarely means the door is finished. In roughly seven cases out of ten, the fix is a roller height adjustment or a thorough track cleaning — both free. In the remaining cases, a $20 to $60 CAD roller kit restores the glide. Only when the frame itself is bent, the track is worn through, or the sealed glass unit has failed does full door replacement become the rational choice.
Before touching anything, do a quick triage. Lift the operating panel slightly by its handle: if it rises a few millimetres and rolls better while lifted, the rollers are set too low or worn flat. If the door drags at one end of its travel only, the panel is out of level. If it grinds everywhere and leaves metallic dust in the track, the roller bearings have seized and are sliding rather than rolling.
How Patio Door Rollers Actually Work
Under each end of the sliding panel sits a roller assembly: one or two nylon or steel wheels on a small carriage, mounted on a spring-loaded or screw-adjusted bracket. An adjustment screw — usually accessible through a hole in the bottom edge or the face of the panel — raises or lowers the wheel relative to the panel. Turning it clockwise typically lifts the panel; counter-clockwise lowers it.
The adjustment exists for a reason: it lets the installer level the panel so it meets the jamb perfectly plumb, which is what allows the latch to align and the weatherstripping to compress evenly. When a house settles or a wood-framed opening moves with humidity — normal in Quebec's climate — the panel goes out of level and the adjustment screws bring it back.
Roller quality varies enormously. Builder-grade doors often ship with single nylon wheels on plain bushings, good for perhaps ten years of regular use. Quality doors use tandem stainless-steel wheels on ball bearings, rated for the weight of triple glazing and for decades of cycles. If you are replacing rollers anyway, upgrading to ball-bearing tandems costs only a few dollars more and transforms how the door feels.
Adjusting the Rollers: A 15-Minute Job
Locate the adjustment screws first. On most doors they hide behind small plastic caps at each end of the bottom rail, either on the face of the panel or drilled into the edge. Pop the caps with a flathead screwdriver. Some models place the screws low on the side stiles instead — check both spots before assuming your door is not adjustable.
Adjust with the door closed so you can read the gap against the jamb. The vertical gap between the panel and the side jamb should be even from top to bottom, and the panel should not scrape the head or sill anywhere in its travel. Work in quarter-turns and test the glide after each one — over-lifting the panel presses it against the head track and creates a new drag problem while pretending to solve the old one.
A properly adjusted door latches without lifting or slamming, glides with light one-hand pressure, and shows even weatherstrip compression along the lock stile. If you cannot achieve all three no matter how you turn the screws, the rollers are likely worn out of round, and adjustment alone will not save them.
- Step 1: Remove the caps and locate both adjustment screws at the bottom corners of the panel.
- Step 2: Close the door and check the gap along the side jamb — wider at the top means that end needs to come up.
- Step 3: Turn the screw on the low side clockwise a quarter-turn at a time, testing the glide each time.
- Step 4: Check that the latch engages smoothly; adjust the strike plate only after the panel is level.
- Step 5: Replace the caps to keep grit out of the screw channels.
Cleaning the Track: The Step Everyone Skips
Even perfect rollers grind on a dirty track. Vacuum the full length of the bottom track with a crevice tool, then scrub it with a stiff nylon brush and warm soapy water. Pay attention to the corners near the jambs, where sand and de-icing salt concentrate — salt residue is abrasive and corrosive, and in Quebec it arrives in the track every single winter.
Once clean and dry, lubricate sparingly with a silicone-based spray — never oil, grease or WD-40. Petroleum products attract dust and gum up in cold weather, turning your track into flypaper by February. Silicone stays slick at -30 °C and does not collect grit. Wipe the excess: the goal is a film, not a puddle.
While you are down there, inspect the track rail itself. Run a finger along the raised rib the wheels ride on: it should feel smooth and even. Flat spots, burrs or a visibly worn shine on one section mean seized rollers have been sliding instead of rolling — replace the rollers promptly, because a worn-through track cannot be repaired and turns a $40 fix into a full door replacement.
Do not forget the weep holes. Those small slots on the exterior face of the sill drain rain and snowmelt out of the track; when they clog with debris, water pools, freezes overnight, and the ice physically blocks the door — a classic Quebec service call every March. Clear them with a pipe cleaner or compressed air as part of every seasonal cleaning.
When Rollers Are Worn Beyond Adjustment
Rollers are consumable parts, like brake pads. Nylon wheels flatten, crack or shed their edges; steel wheels seize when their bearings corrode — accelerated by salty slush and condensation cycles. Once a wheel is out of round, no amount of screw-turning will make the door glide, because the geometry changes with every rotation.
The diagnostic signs are consistent. A rhythmic bump or click once per wheel revolution means a flat spot. A door that needs a shoulder to move, then suddenly frees up, points to a seizing bearing. Black or grey powder in a freshly cleaned track is the wheel itself wearing away. And a panel that sits visibly lower than it did — check whether the latch still aligns with the strike — means the wheels or their springs have collapsed.
- Grinding or scraping noise even on a clean, lubricated track
- A rhythmic bump per wheel rotation — the signature of a flat spot
- Adjustment screws turned to maximum with the panel still dragging
- Metallic or plastic dust reappearing in the track days after cleaning
- The panel visibly sagging so the latch no longer meets the strike plate
Replacing Rollers: Doable, With Caveats
Roller replacement means removing the panel: with the door half-open, turn both adjustment screws fully counter-clockwise to retract the wheels, then lift the panel up into the head channel and swing the bottom out. Fair warning — a glazed patio door panel weighs 45 to 90 kg and is awkward to grip. This is strictly a two-person job, ideally with suction-cup handles, and worth hiring out if you have any doubt.
With the panel laid on sawhorses over a blanket, the roller assemblies unscrew from the bottom corners. Bring the old assembly to the hardware store or photograph it with measurements: housing length, wheel diameter and axle position must match, because there are hundreds of profiles and near-misses will not carry the load correctly. Quebec suppliers stock common profiles for $15 to $60 CAD per pair; discontinued imports can be harder to source than the part is worth.
Reinstallation is the reverse: top edge into the head channel first, swing the bottom over the rail, extend the rollers with the adjustment screws and re-level the panel. Budget 30 to 60 minutes for the whole operation. If your door is still under warranty, call the manufacturer before opening anything — on quality doors, roller carriages are often covered.
Repair or Replace: The Honest Arithmetic
New rollers make sense when the rest of the door is sound. They make no sense when they are the third symptom of a dying unit. If the track rail is worn flat, the aluminum sill is corroded, the frame is racked so the panel cannot be leveled, or you see fog between the glass panes — a failed sealed unit that has lost its argon and its insulating value — you would be bolting new wheels onto a door that leaks heat all winter.
Run the numbers the way an inspector would. A roller kit is $15 to $60; a service call to install it, $150 to $300. A modern replacement patio door runs roughly $2,500 to $6,000 CAD installed depending on size and glazing — but an ENERGY STAR certified unit with low-E argon glazing can cut the heat loss through that opening dramatically compared to a 1990s door, and Rénoclimat currently offers around $150 per opening for qualifying replacements. If your door is over 20 years old and showing structural symptoms, the repair money is usually better spent as a down payment on the replacement.
If you land on the replacement side, look at how the new door rolls before you buy: tandem stainless ball-bearing rollers, a stainless or anodized track cap, and a thermally broken sill are what keep a patio door gliding smoothly through 25 Quebec winters. Our patio doors are built in Saint-Laurent around exactly those components, and installed by RBQ-licensed crews who level the panel to the millimetre on day one.
Frequently Asked Questions
How do I know if my patio door rollers need adjusting or replacing?
Lift the panel slightly by the handle: if it rolls better while lifted, try adjustment first. If the adjustment screws are maxed out, you hear grinding on a clean track, or you find plastic or metal dust reappearing, the wheels are worn and need replacement.
Which way do I turn the adjustment screw on a patio door?
On most doors, clockwise raises the panel and counter-clockwise lowers it, via a screw hidden behind a cap at each bottom corner. Work in quarter-turns with the door closed so you can watch the gap along the side jamb even out.
What lubricant should I use on a patio door track?
Use a dry silicone spray only, applied lightly to a cleaned track. Oil, grease and WD-40 attract sand and salt grit and thicken in cold weather — a real problem at Quebec temperatures — turning the track into an abrasive paste.
How much does it cost to fix a sliding patio door in Quebec?
A DIY roller kit costs $15 to $60 CAD, and a professional service call to replace rollers typically runs $150 to $300. A full replacement patio door is roughly $2,500 to $6,000 installed, which only makes sense when the frame, track or sealed glass unit has failed.
Why does my patio door freeze shut in winter?
Usually the track's weep holes are clogged, so snowmelt pools in the track and freezes overnight. Clear the weep holes on the exterior sill face, clean out debris each fall, and the water will drain before it can turn to ice.
Is replacing patio door rollers a DIY job?
Mechanically yes — the assemblies are held by a couple of screws. The catch is the panel itself: 45 to 90 kg of glass that must be lifted out of the frame, so treat it as a two-person job with suction handles, or hire a pro if the panel is oversized or triple-glazed.