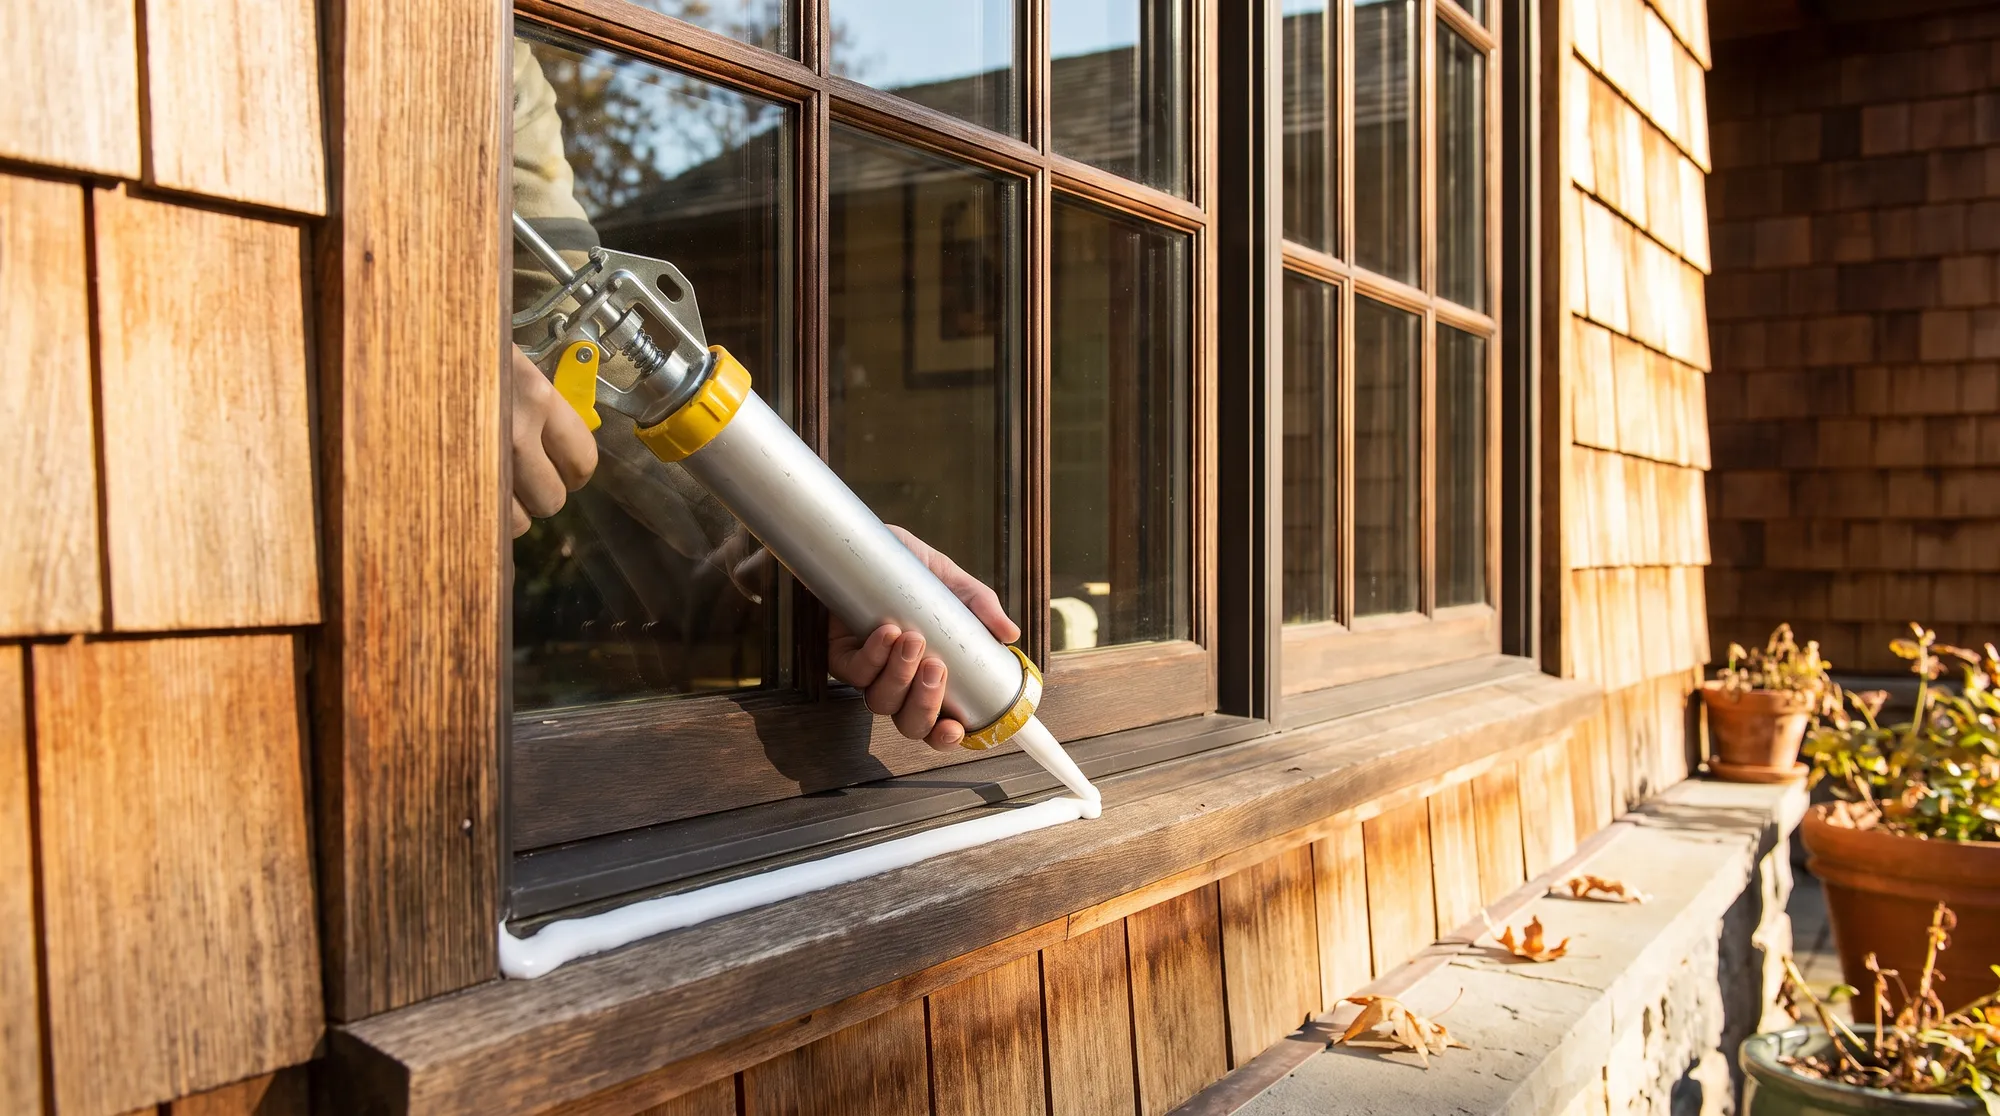
The bead of caulk around each window is a few dollars of material standing between your wall assembly and seven months of Quebec winter. Late August through September is the one stretch of the year when temperature, humidity and your own schedule all line up to replace it properly. Here is how to inspect every joint, choose the right sealant and finish the job before the first frost does it for you.
Why Late August to September Is the Ideal Caulking Season
Nearly every sealant sold in Canada — silicone, polyurethane or hybrid — cures best when applied between 5°C and 25°C on a dry surface. In a Montreal July, sun-baked brick and aluminum cladding routinely exceed 40°C, which makes fresh caulk skin over too fast, trap solvent and bond poorly. By late August, daytime highs settle into the high teens and low twenties while overnight lows stay comfortably above the cure minimum, so the bead hardens evenly through its full depth.
Timing matters for the substrate as well as the product. Joints must be dry not just on the surface but within the masonry or wood behind them, and the drier late-summer weeks give walls a chance to shed the humidity of July. Apply caulk over damp brick in October and you seal moisture into the joint, where the first freeze-thaw cycle will pop the bead off the wall by February.
There is also a simple deadline argument: polyurethane sealants typically need 24 to 72 hours to cure and silicones 24 to 48, all of it frost-free. Once nights start dipping toward 0°C in mid-October, every application becomes a gamble. Doing the work in late August or September leaves margin for a rainy week, a second pass on joints you missed, and full cure long before the heating season starts.
The 20-Minute Inspection: What Failed Caulk Looks Like
Walk the exterior of the house with a flat screwdriver and your phone camera, and examine the perimeter of every window and door frame where it meets the cladding. Healthy caulk is continuous, slightly flexible when pressed, and still adhered on both sides of the joint. You are looking for five failure modes: cracking, pulling away (adhesive failure), splitting down the middle (cohesive failure), chalky crumbling from UV exposure, and gaps where the bead is simply missing.
Press gently along suspect sections with the screwdriver. If the bead dents and springs back, it still has elasticity; if it feels hard as plastic, cracks under light pressure or lifts off the substrate in a strip, it is finished. Pay special attention to the top corners of south- and west-facing windows — UV and thermal movement hit those joints hardest — and to the junction between the sill and the wall, where water actually runs.
Inside the house, check for clues that exterior joints have already failed: faint water staining at the top corners of window trim, paint bubbling under a sill, or drafts you can feel with the back of your hand on a windy day. A smoke pencil or even an incense stick held near the frame on a breezy afternoon will reveal air leaks that your eyes miss. Any window showing interior staining deserves priority, because water is already getting past the first line of defence.
- Cracking or crazing: a web of fine surface cracks — UV degradation, replace soon
- Adhesive failure: bead pulled cleanly off one side of the joint — water is entering now
- Cohesive failure: bead split through the middle — sealant too rigid or joint too wide
- Chalking and crumbling: material rubs off as powder — fully spent, remove entirely
- Missing sections: gaps at corners or sill ends — highest priority, seal immediately
Exterior vs Interior: Two Joints, Two Different Jobs
A window in a Quebec wall is sealed twice, and the two beads do opposite work. The exterior bead sheds bulk water and survives sun, wind-driven rain and a 70-degree annual temperature swing, so it must be flexible, UV-stable and rated for exterior movement. The interior bead, hidden behind or beside the casing, is the air and vapour seal: it stops warm, humid indoor air from leaking into the wall cavity, where it would condense against cold sheathing in January.
Because the jobs differ, the products should too. Outside, use an exterior-grade polyurethane, hybrid polymer or exterior silicone rated to at least -40°C service temperature — check the label, since bargain acrylic caulk sold at 3 $ a tube loses flexibility below freezing and rarely survives two Quebec winters. Inside, an acrylic-latex or hybrid sealant is fine, since it faces no UV and little movement, and it accepts paint, which most silicones do not.
One caution: never caulk over the weep holes at the bottom of a window frame or storm sash. Those small slots are designed to drain water that gets past the exterior seal, and blocking them traps water inside the frame, where it rots wood and corrodes hardware. If a previous owner has sealed them — a very common find on older Montreal duplexes — clear them with a plastic zip tie or small screwdriver.
Silicone vs Polyurethane: Choosing the Right Cartridge
Silicone is the elasticity champion: it stays rubbery from roughly -50°C to +150°C, is completely unaffected by UV, and bonds superbly to glass, aluminum, vinyl and glazed brick. Its weaknesses are that it cannot be painted, it will not stick to itself once cured (repairs need full removal), and it performs poorly on porous, dusty masonry unless primed. A quality exterior silicone runs 8 $ to 14 $ per cartridge at Quebec hardware stores.
Polyurethane trades a little flexibility for toughness and adhesion. It grips concrete, brick, stone and wood tenaciously, resists abrasion, and takes paint well, which is why professionals favour it for masonry-to-frame joints on brick facades. It cures slower, degrades gradually in direct UV unless painted or specifically stabilized, and it demands dry conditions during application — another argument for late summer. Expect 7 $ to 13 $ per cartridge.
Hybrid sealants (MS polymer or silyl-modified polyether) have taken over much of the professional market because they combine most of both advantage lists: paintable, UV-stable, low-temperature flexible and adhesive to almost everything without primer. They cost more — typically 10 $ to 18 $ per cartridge — but for a homeowner doing the whole house once, the extra 30 $ is cheap insurance. Whatever you choose, buy one brand and product line for the entire job so every joint ages the same way.
- Glass, vinyl and aluminum joints: silicone or hybrid
- Brick, stone and concrete joints: polyurethane or hybrid
- Joints you plan to paint: polyurethane or hybrid, never pure silicone
- Coldest exposures and north walls: verify a -40°C service rating on the label
Removal and Prep: 80% of a Bead That Lasts
New caulk applied over old, failing caulk fails on the old material's schedule, so complete removal is non-negotiable. Slice both edges of the old bead with a utility knife, pull the bulk free, then clear the residue with a plastic-bladed caulk removal tool that will not gouge aluminum or scratch glass. On masonry, a stiff nylon brush lifts the crumbs out of the joint texture.
Clean the joint with isopropyl alcohol on non-porous surfaces, and let everything dry completely — after rain, give brick a full sunny day. If the gap is deeper than about 10 mm, press in a foam backer rod first; it sets the correct bead depth (roughly half the joint width), prevents the caulk from bonding on three sides, and can save half your cartridges on wide joints. Mask both sides of wide or visible joints with painter's tape for a straight professional line.
Check the forecast before you cut the cartridge tip: you want a dry surface, no rain expected for 24 hours, and temperatures inside the product's stated range through the first night. A calm, overcast September day between 10°C and 20°C is close to perfect.
Applying the New Bead: Technique in Five Steps
Cut the nozzle at 45 degrees to an opening slightly smaller than the joint width, and puncture the inner seal. Run the bead in one continuous motion, pushing the gun ahead of the nozzle rather than dragging it — pushing forces sealant into the joint instead of laying it on the surface. Fill each side of a window in a single pass, and always finish a cartridge at a corner, not mid-run.
Tool the bead within five minutes, before it skins. A gloved finger dipped in soapy water works for silicone; a plastic tooling spatula gives cleaner results with polyurethane, which is aggressively sticky. Tooling is not cosmetic: it presses the sealant onto both bonding surfaces and shapes the slight concave profile that handles movement best. Pull the masking tape immediately after tooling, while the bead is still wet.
Budget one cartridge per two to three average windows, so a typical Montreal single-family home with 12 to 15 windows needs 5 to 8 cartridges — a 60 $ to 120 $ weekend project. Hiring the work out costs roughly 8 $ to 15 $ per linear metre in the Montreal area, or 400 $ to 900 $ for a whole house, which is still excellent value against the heating energy and water damage a failed seal costs.
When New Caulk Will Not Save the Window
Caulking seals the joint between the window and the wall; it cannot fix the window itself. If you find soft, punky wood when you press the sill or brickmould, rot has already advanced past the point where sealant helps, and covering it only hides the progression. Likewise, fog or droplets between the panes mean the insulated glass unit's own seal has failed — an internal problem no exterior bead can reach.
Other signs the unit is at end of life: sashes that no longer close tight against the weatherstripping, frames visibly out of square, ice forming on the interior glass in January, or caulk joints wider than 15 mm because the frame has shifted. Resealing a window in that condition buys months, not years.
If your late-summer inspection turns up more than one of these symptoms, get a replacement assessment before winter rather than after. Explore the current lineup of ENERGY STAR certified replacement windows — modern units pair a U-factor of 1.22 W/m²·K or better with factory-sealed frames, and installing them in fall weather is far easier on your house than an emergency job in February. In Quebec, make sure any installer holds a valid RBQ licence.
Frequently Asked Questions
Why is late August to September the best time to caulk in Quebec?
Most sealants cure properly only between 5°C and 25°C on dry substrates, and late summer reliably delivers those conditions day and night. It also leaves several frost-free weeks of margin for full cure, second passes and rain delays before the heating season begins.
How long does exterior caulking last in Quebec's climate?
Quality polyurethane, silicone or hybrid sealant properly applied lasts 8 to 15 years, though south- and west-facing joints age faster from UV exposure. Cheap acrylic caulk can fail in as little as one or two winters. Inspect every joint annually regardless of age.
Should I use silicone or polyurethane around my windows?
Use silicone or a hybrid on glass, vinyl and aluminum, and polyurethane or a hybrid on brick, stone and any joint you intend to paint. Hybrids (MS polymer) cost a few dollars more per cartridge but combine the strengths of both, which makes them the simplest single choice for a whole house.
Can I just caulk over the old bead to save time?
No. New sealant bonded to failing material fails on the old material's schedule, and the fresh bead often peels away within a season. Cut out the old caulk completely, clean the joint, let it dry, and apply to bare, sound surfaces.
Is it a problem that my window has small unsealed slots at the bottom?
Those are weep holes, and they must stay open — they drain water that gets past the exterior seal. Caulking them shut traps water inside the frame, where it rots wood and corrodes hardware. If a previous owner sealed them, clear them gently with a small screwdriver.
What does professional recaulking cost in the Montreal area?
Expect roughly 8 $ to 15 $ per linear metre, or about 400 $ to 900 $ for a typical house, depending on access, joint condition and product. Doing it yourself costs 60 $ to 120 $ in materials for the same house and one careful weekend.